![]() Return to the HOME page for
NN4ZZ
Return to the HOME page for
NN4ZZ
 Click
for the QuadLock
page for
Cubical Quad Antennas.
Click
for the QuadLock
page for
Cubical Quad Antennas.
 Click
for the HexLock
page for Hexbeam type Antennas.
Click
for the HexLock
page for Hexbeam type Antennas.
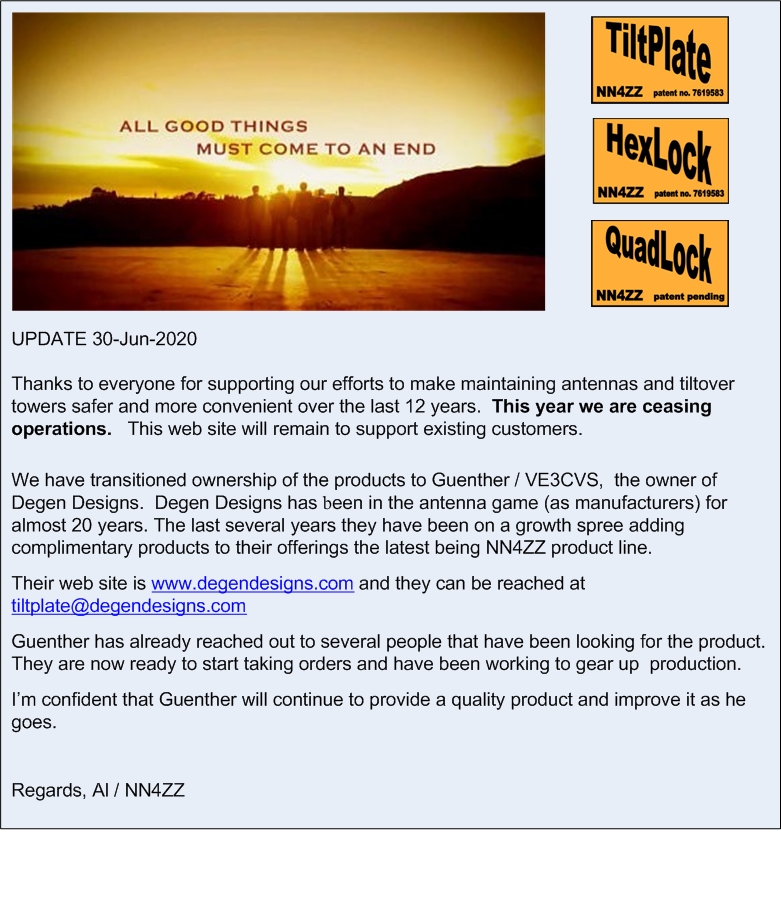
CLICK here to email DEGEN DESIGNS: tiltplate@degendesigns.com
CLICK here to go to the DEGEN DESIGNS web page: www.degendesigns.com
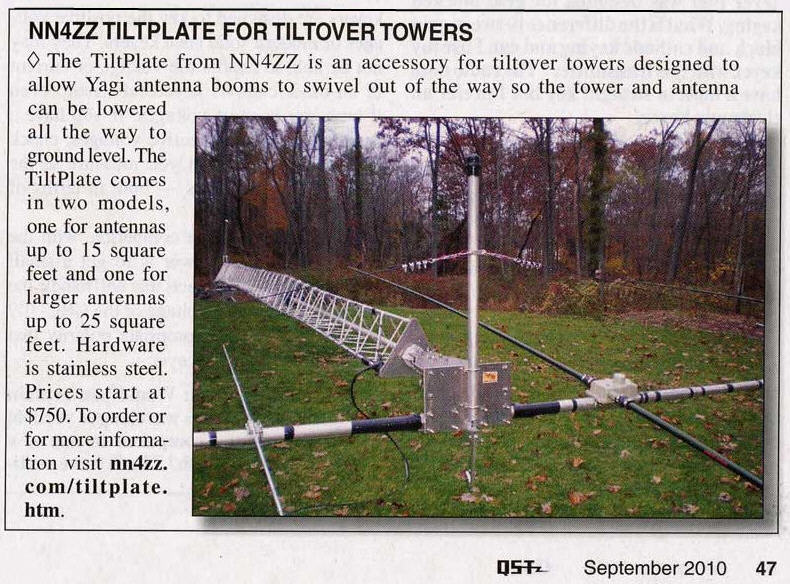
Warning -- Tower and antenna work can be dangerous. Working from the ground helps reduce the risk but every installation is different. The user is responsible for the application and adhering to good engineering and safety practices. There are no other warranties express or implied.
 Review Update: Now in 3 models: Standard, Monster
and Mini
Review Update: Now in 3 models: Standard, Monster
and Mini
 Over 300
TiltPlates shipped. Thanks!
Over 300
TiltPlates shipped. Thanks!
VIDEO
--- CLICK for the HamRadioNow interview at Dayton 2014

For More information
* Click for TiltPlate specifications for ALL models
* Click for Prices and Ordering
* Click for FAQs (Frequently Asked Questions about applications, installation, etc)
* Click for Special Note for SteppIR DB36, DB42, MonstIR, and 4el with trombone
* Click for Customer Pictures and feedback
* Click for WD0M Tower Failure pictures and comments
* Click for Hamfest Pictures
* Click for Shop Pictures
* Click for Videos and YouTube VIDEOS
* Click for KARLock information (optional gravity lock)
* Click for TiltPlate STACKING information and mast recommendations
* Click for Commercial Links - companies we work with
* Click for The QuadLock Page - Tilt product for Cubical Quad Antennas
* Click for The HexLock Page - Tilt Product for HexBeam type antennas
* Click for Company Information and to contact us directly
Click to
go to our Facebook page

Read the TiltPlate reviews on eHam, click here
Read the KARLock reviews on eHam click here
 Click
for TiltPlate write up in CQ Magazine
Click
for TiltPlate write up in CQ Magazine
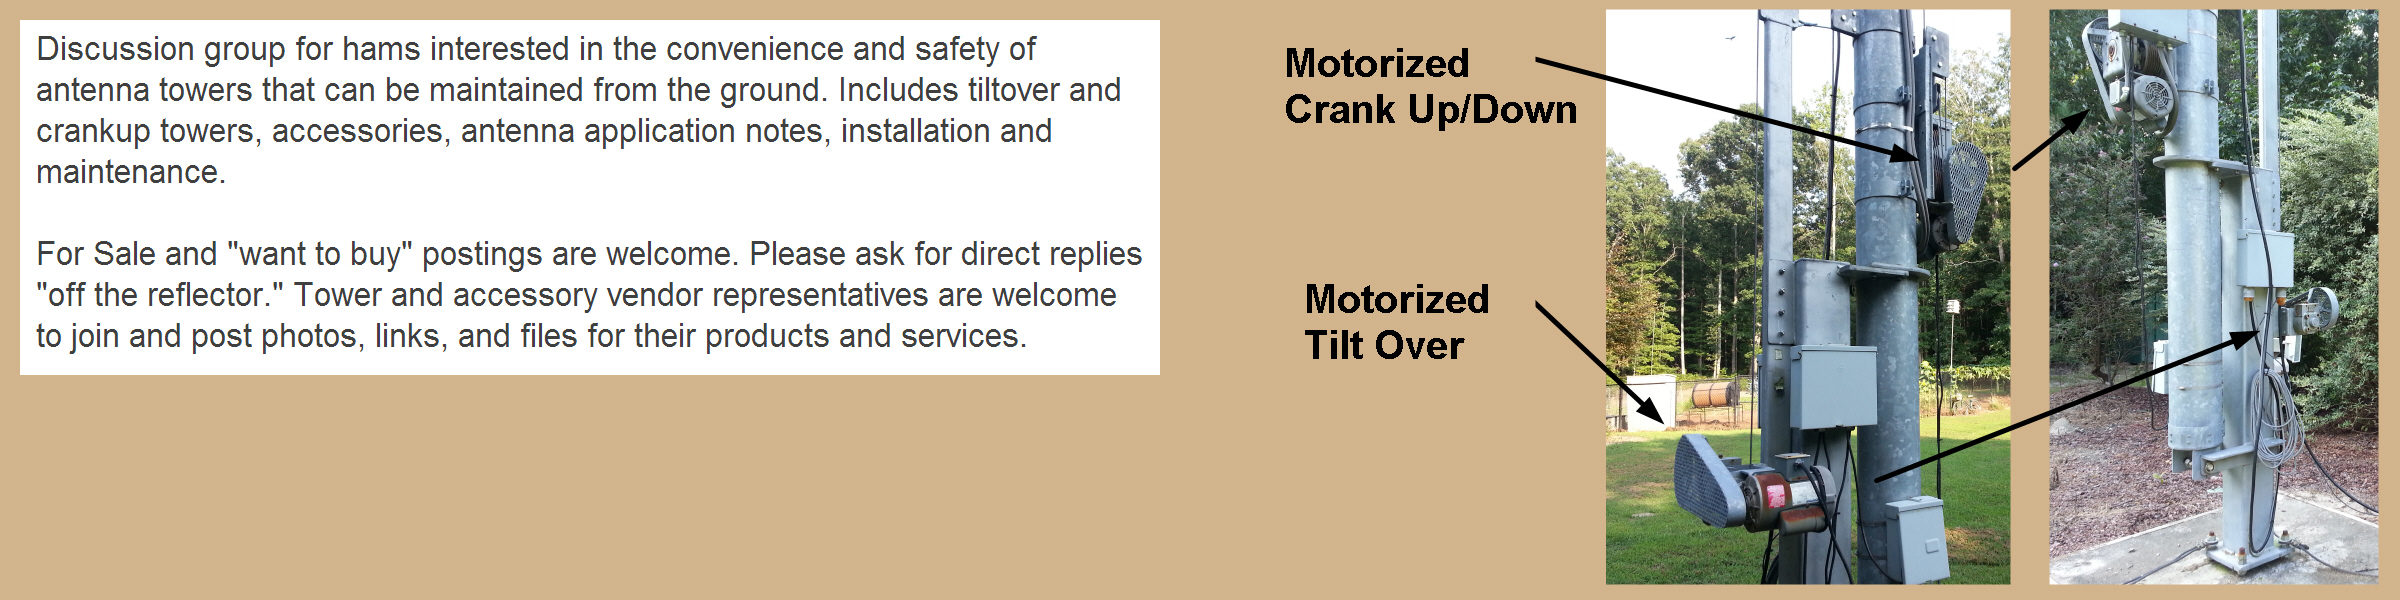
CrankupTiltoverTowers -- A forum on Groups.io dedicated to crankup and tiltover towers. You may be interested in joining. Click here to vist the forum
Price List
Standard Model $790 + $55-$85 shipping & handling
Monster Model $940 + $95-$125 shipping & handling (see note below)
Mini-TiltPlate $700 + $44-$74 shipping & handling
KARLock, non-stackable $250 when ordered with a TiltPlate
$300 + $20-$40 shipping when ordered separately
KARLock, Stackable $285 when ordered with a TiltPlate
$335 + $20-$40 shipping when ordered separately
Lateral Boom Strut $123 + $20-$40 shipping when ordered separately
Boom Truss Mast Bent $30 + $20-$40 shipping when ordered separately
Optibeam 40MM adapter $20 when ordered with a TiltPlte (u-bolt credits applied)
Optibeam 40MM adapter $80 + $20-$40 shipping when ordered separately
Optibeam 80MM adapter $71 when ordered with a TiltPlte (u-bolt credits applied)
Optibeam 80MM adapter $131 + $20-$40 shipping when ordered separately
Shipping is to continental U.S. and varies by UPS zone. Shipping to Alaska, Hawaii, Canada and International will vary.
NOTE: Monster model shipping price increase effective 20-Jan-2020. UPS has lowered the the overweight limit from 70 lbs to 50 lbs. A surcharge is now added for any package over 50lbs.

To SEND an EMAIL for general questions -- Click here: al@nn4zz.com
| Tiltplate Models - Standard, Monster, Mini | |
TiltPlate (standard)
Antennas up to 25 sq ft, 125 lbs Shown in the stackable configuration (mast extends past TiltPlate)
|
TiltPlate (monster)
Antennas up to 35 sq ft, 250 lbs Shown in the non-stackable configuration (mast is in front)
|
|
Antennas up to 10 sq ft, 70 lbs (2el Steppir, DreamBeam 11, Small tribander or LPDA) Only requires 12 inches on the boom for mounting. shown in the "stackable" configuration (mast extends past the TiltPlate)
|
|
Click for Customer Pictures and Comments
TiltPlates, KARLocks, and QuadLocks
Lida (XYL), Al, and Cal (son) at the Dayton 2010 hamfest. Photo by Don / N4HH.
![]() Click for the
NN4ZZ video channel on YouTube
Click for the
NN4ZZ video channel on YouTube
All of the TiltPlate, KARLock, and QuadLock videos are posted on YouTube in the NN4ZZ channel.

Small Screen Version Large screen Version
( 320 X 240 -- 9 MB ) ( 640 X 480 - 65 MB )
This is a 4 minute video showing the TiltPlate in action. Both files are the same, the screen size (and time to load) is different. Click the VIDEO icon to play.
The music
on the video
was written, composed, and recorded by Andrew (OZ5E) and Lissa (XYL) also
known as The Ham Band. For more information check
www.hamband.com
 Bill / KM1C Stacked TiltPlate video
The video below shows 2 stacked yagis on TiltPlates with a 6M yagi at the top. Click for more information on Bill's project.
Video Details: 9 minutes, SMALL 320x240 screen size, Microsoft .WMV format
Video Details: 9 minutes, LARGE 960x720 screen size, FLASH format
Click to play the FLASH format
Company: NN4ZZ TiltPlate is a family owned LLC (Limited Liability Corporation)
Location: We are located in Loganville Georgia, (30 miles east of Atlanta)
Founded: The LLC was established on October 26, 2009 and is co-owned by Al Ludwick / NN4ZZ and Cal Ludwick. Lida Ludwick (XYL) provides shipping and administrative support.
 Safety and Convenience
Mission: The mission of our company is to provide safety and convenience products for yagi and quad antenna users with tiltover towers. Our products, the TiltPlate, QuadLock and HexLock are designed to allow antenna maintenance from the ground without the need for a tall ladder or expensive bucket lift. It is our goal to provide the best quality product possible at a reasonable cost. To that end we use the best components, a robust design, and quality manufacturing processes.
Patents: Tiltplate and KARLock, HexLock and QuadLock are patented.
Contact: Click to send email ---> al@nn4zz.com
Note: Although our phone number is not listed here, phone support is available just send an email and it will be provided or email your number and we'll give you a call.