![]() Return to TiltPlate page
Return to TiltPlate page
![]() Return to FAQs page
Return to FAQs page
***** SteppIR Installation tips
*****
Some customers prefer to build the SteppIR antenna right on the TiltPlate. That
way you can do it without having to handle the weight of the fully assembled
antenna. It can make the installation a one person job.
There are some steps below that may not apply to your application based on the
SteppIR model, TiltPlate stackable configuration and options like the KARLock,
bent boom mast, and lateral strut.. The differences will be noted.
Basically the steps are:
- Tilt the tower to horizontal
- Mount the TiltPlate to the mast
- Mount the boom to the TiltPlate (lightly tighten the boom u-bolts)
- Install the EHUs (no elements yet)
- Tilt the moveable boom plate up and clamp the moveable plate to the mast
plate. Woodworking clamps work well.
******** Boom Truss Mast Installation ********
- Note, some of the smaller SteppIR antennas do not have a boom truss mast.
- Install the boom truss mast and cables and adjust as noted below. You may need to let the boom plate open some to access the u-bolt nuts. Leave the plates clamped together for the boom truss mast adjustment and other steps below.
NOTE: In some cases with the addition of the boom truss mast, the moveable plate may stay tightly against the mast plate on it's own until all of the elements are attached to the boom. This is more likely with the heavier T-Bar truss mast on the DB32, DB36 and DB42. The weight of the boom truss mast and distance above the bearing pivot point can keep the plates together until the boom is fully loaded with the elements. The fully loaded boom typically weighs 5 to 10 times as much as the boom truss mast assembly and is below the bearing pivot point. One customer noted that he used a pipe wrench and short length of pipe on the moveable plate to pull it down. You will be able to move the boom plate easily up and down once the elements are mounted.
If you have the "stackable" TiltPlate configuration insure there is no interference between the cables and main mast. If you have the "bent boom mast" option, rotate the "bent boom mast" or use the provided u-bolt shim plate as necessary to get clearance. See these FAQs for more info:
http://www.nn4zz.com/tiltplate_faqs.htm#Q)_The_boom_truss_
http://www.nn4zz.com/tiltplate_faqs.htm#The_Bent_Boom_Truss_MAST_Option
If you have the "non-stackable" configuration insure the boom truss mast is vertical or in the case of the DB32, DB36 and DB42 that it favors the side away from the tower to provide a slight bend of the boom in that direction. Leave the plates clamped together for the other steps below. Click here for more information on this:
http://www.nn4zz.com/Lateral%20Strut%20Mount.htm
******** Lateral Strut Installation ********
- If you ordered the "lateral strut" adapter for the DB32, DB36 or DB42, use these steps to install a 3 foot lateral strut tube (not supplied) and cables (not supplied) .
- Release ( un clamp) the plates and let the boom plate swivel back down.
NOTE: In some cases with the addition of the boom truss mast, the moveable plate may stay tightly against the mast plate on it's own until all of the elements are attached to the boom. This is more likely with the heavier T-Bar truss mast on the DB32, DB 36 and DB42. The weight of the boom truss mast and distance above the bearing pivot point can keep the plates together until the boom is fully loaded with the elements. The fully loaded boom typically weighs 5 to 10 times as much as the boom truss mast assembly and is below the bearing pivot point. One customer noted that he used a pipe wrench and short length of pipe on the moveable plate to pull it down. You will be able to move the boom plate easily up and down once the elements are mounted.
- Install the lateral strut mast tube and cables and adjust for a slight bend away from the tower.
Click here for more information on this:
http://www.nn4zz.com/Lateral%20Strut%20Mount.htm
- ReClamp the plates together for the following steps.
********* KARLock Installation ********
- If you ordered a KARLock and the "stackable" TiltPlate configuration, install the KARLock block in the lines marked. The catch plate will come already mounted in the correct location.
- If you ordered a KARLock and the "non-stackable" configuration
install the KARLock
and the catch plate. The location for the catch plate on the mast will be
marked. Check / adjust the catch plate location for between 1/4 and 1/2 inch clearance
between the hook and u-Bolt. More
notes on the KARLock installation here:
http://www.nn4zz.com/karlock.htm
******** Element Leveling ********
- Install ONE side of ONE element (facing the tower side) to facilitate leveling
the boom (see instructions for leveling) and tighten the boom u-bolts
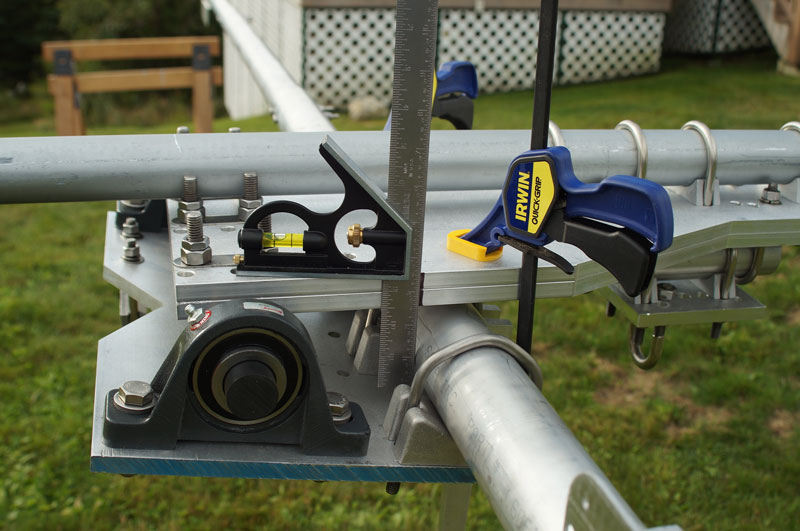
Use method 3 for leveling, more notes here:
http://www.nn4zz.com/tiltplate_level.htm
- Release ( un clamp) the plates and let the boom plate swivel back down
NOTE: In some cases with the addition of the boom truss mast, the moveable plate may stay tightly against the mast plate on it's own until all of the elements are attached to the boom. This is more likely with the heavier T-Bar truss mast on the DB32, DB 36 and DB42. The weight of the boom truss mast and distance above the bearing pivot point can keep the plates together until the boom is fully loaded with the elements. The fully loaded boom typically weighs 5 to 10 times as much as the boom truss mast assembly and is below the bearing pivot point. One customer noted that he used a pipe wrench and short length of pipe on the moveable plate to pull it down and mount the elements. You will be able to move the boom plate easily up and down once the elements are mounted.
- Install the rest of the element tubes
******** Finish up installation ********
- Install the connector box and wiring
- Install the other antennas above the TiltPlate if applicable
Paul / W0PL provided some tips for the installation of his DB18E that are posted
on my web page at:
http://www.nn4zz.com/W0PL%20DB18%20installation%20tips.html
Also some good video by Al / K0CN here
http://www.nn4zz.com/customer_pictures_and_comments.html#K0CN_/_Al
**** Another Installation Option ****
Some folks have mounted the TiltPlate to a short mast or other wise oriented it
in the operating position and then built or mounted the antenna to the
TiltPlate. Then lowered the tower and attached the full assembly to the tower
mast. The downside it you will need help to move and mount the antenna as it
will be too heavy to lift by yourself. You may need 2 people to lift
and orient the antenna/TiltPlate and one to bolt it to the mast.