![]() Return to the HOME page for
NN4ZZ
Return to the HOME page for
NN4ZZ
![]() Return to TiltPlate page
Return to TiltPlate page
![]() Return to FAQs page
Return to FAQs page
Tiltplate Details...for the original TiltPlate1 and TiltPlate2 designs are in the file below. It will cost about $600 for parts and materials and take about 15 hours to construct. Please be careful if you plan to substitute components or revise the design. The pressure of the wind at 60, 80 or 100 MPH is very high and will exert significant forces on the plates and bearings.
The new TiltPlate model and the monster version TiltPlate are for sale only and not included in the powerpoint. Click on link below for a PowerPoint showing construction details for the prototype models. (16 MB file)
http://www.nn4zz.com/Data/TiltplateV7.ppt
(free viewer from Microsoft if you don't have powerpoint -- google powerpoint viewer)
Picture Gallery - Homebrew Pictures
| Prototypes -- (not for sale) |
|
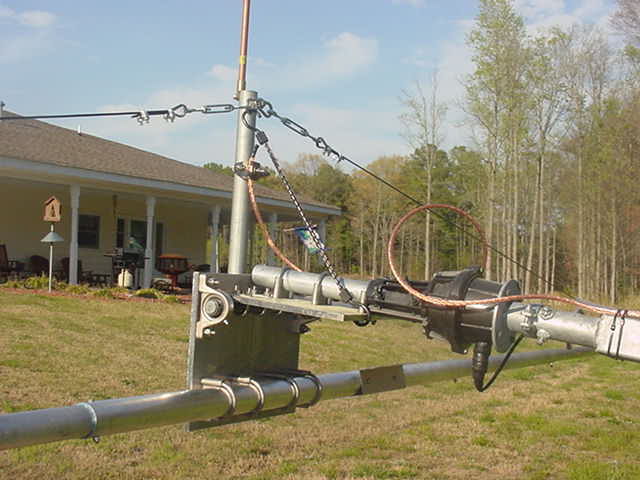
TiltPlate2A direct rotor mount version. In continuous service since 2005.
|
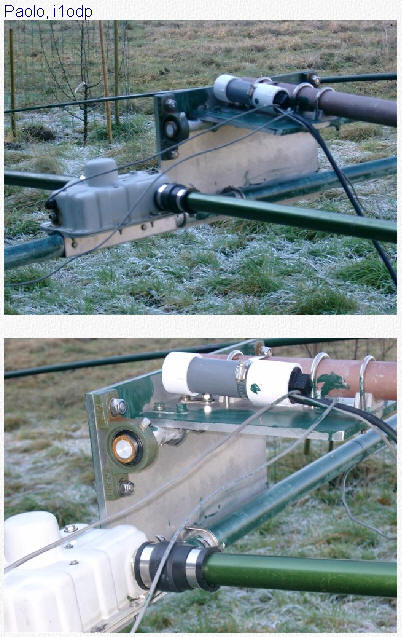
| Paolo / I1ODP |
|
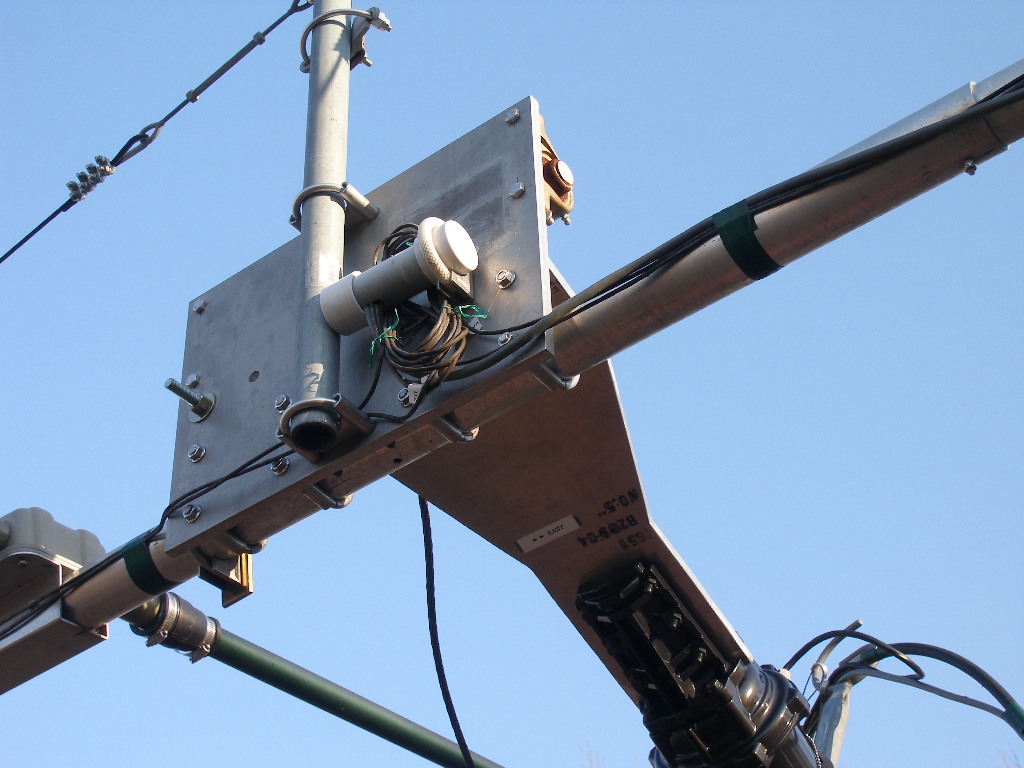
| Dick / PA3DUV |
|
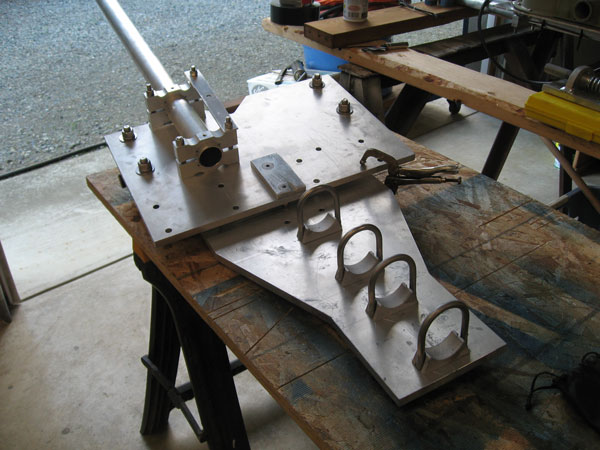
Please find some pics attached showing the PA3DUV execution of the NN4ZZ tilt plate. This tilt plate is designed to carry a 2 element 80 meter beam, up 60 meter (180 feet) on a hydraulic crane. Since the boom is not round but square aluminum tubing (80 x 80 mm) I had to use 5 degree offset blocks to compensate for the 5 degree tilt angle. These offset blocks are machined from aluminum stock. For the bearings I used large nylon bearing blocks, the shaft is a section of 50 mm (2") heavy wall aluminium tubing. The bearing blocks are bolted to the 1/2 " plate with stainless steel stud bolts, over the blocks a 5 mm stainless steel plate is bolted in order to remove any strain from the nylon. The tilt plate will be used during the CQ WW contest @PI4ZI. Look out for the big signal from the Lowlands. Al, thanks and all credits for this terrific idea. 73, Dick PA3DUV
CQWW SSB contest UPDATE, Nov 16 2008
Please find some pics attached concerning the
launch of the 80 m beam with the crane and the tiltplate.
Launch took place in the dark, and the beam
was used in the CQWW SSB contest on 80 meter.
The tiltplate made
beam deployment a VERY easy job. The launch time was only 7
minutes, while launching it without tiltplate took us more than
1.5 hour last PACC contest. The
beam sits 60 m high (180 ft) on top of a 300 ton hydraulic
crane. During the CQWW SSB 2008 there was a stiff wind, but the
beam was absolutely stable. It is a heavy antenna and due to the
6 degree angle the resulting sideways force was enough to keep
it fixed.
Nylon bearing blocks,
reinforced with stainless steel studbolts and a 5 mm stainless
steel cover plate proved to be reliable and very strong.
I will build a second copy of this
model which will be used for deployment of the 4 element 40 m
beam.
73, Dick
PA3DUV
|
|
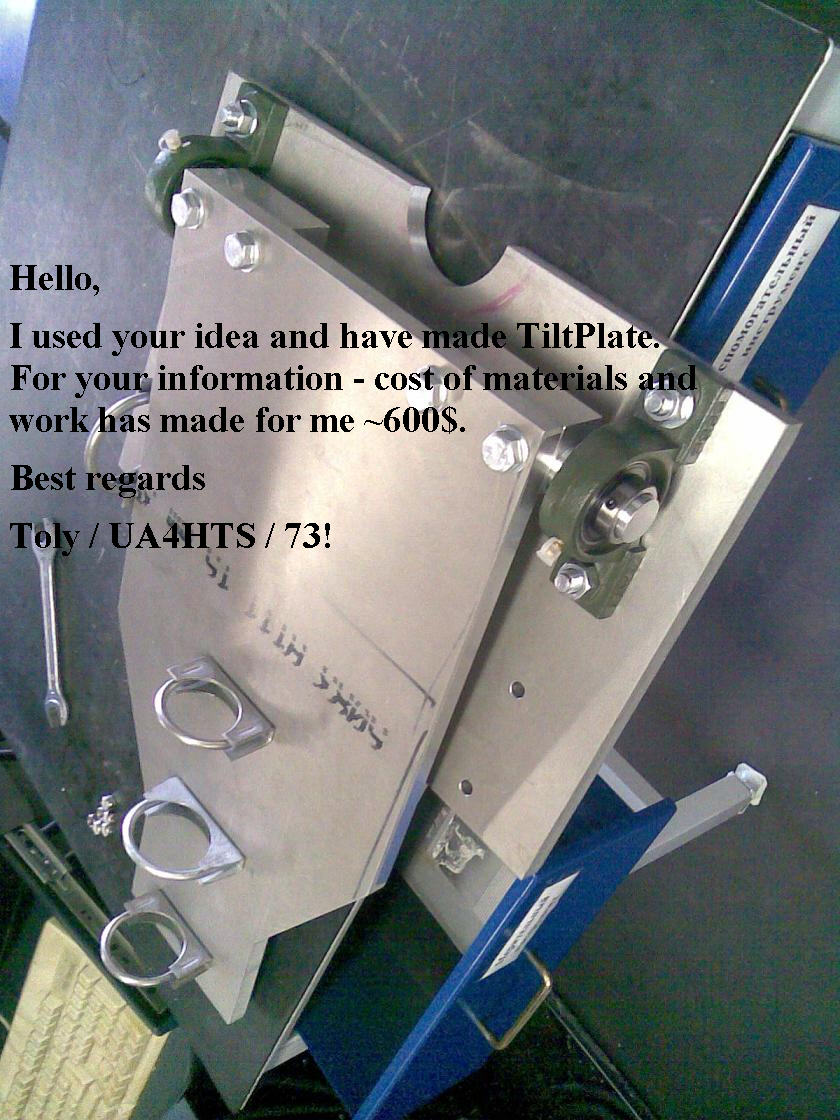
Toly / UA4HTS |
|
|
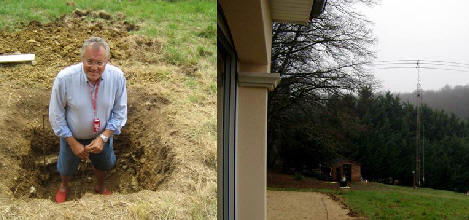
| KD7UI / John |
|
Here is a picture of the completed tilt plate. It took way more time than I thought. If I hadn’t had the right tools I couldn’t have done the job properly. Building one of these is enough! Hi I have about 600 bucks in this job and that’s not counting my time! Al’s price is fair
and anyone that think otherwise, has never built anything, specially to
his standard and quality.
|
|
|